Wednesday, July 11, 2018

Decision Games GOSS Rule System

I have been a fan of the GOSS Series from Decision Games.  Unfortunately, until the last revision the quality of the rules writing was poor.  Even the latest version has errors in the text, but the issues with the rules system itself have dramatically been reduced in my opinion.

Anyway not going to go into details about the system today, but I plan to post and AAR of Wacht am Rhein from Decision Games.  The AAR will start after the end of the Dec. 17th Night turn.  Until then below are a couple of screen shots from the Vassal version of the game;

 
6th Panzer Armee Sector

5th Panzer Armee Sector

Guderian's Blitzkreig Turn 1b


 Russian Front, SE of Rosylov


The Soviet 279th Strelkovaya Division was bombed and overrun by the 177th AG battalion and remnants retreated north.  With the bridge secure, 10th Panzer penetrated the Soviet front and advanced to Kirov.  Elements (PzG regiment and Pz Battalion) overran the 173rd Infantry in a fortified position.  173rd was sent reeling back but the KG did not press the attack to avoid losses At Kirov the remainder of the 10th turned north towards Spa Demyansk and overran the airfield SE of the city.  The attack was such a surprise ½ a squadron of Lagg3s were left behind.
2nd Panzer, following close behind, headed north to Spa Demyansk proper, overrunning the remnants of 173rd Infantry as they turned north.  Defenders in Spa were scattered easily, but not before destroying a few supplies.  At Kirov, truck convoys were established to allow the fortified position captured from the Russians to be used as a supply source.  A supply dump was established there.
A small KG consisting of the 192nd AG battalion and the 276th Hvy Flak battalion moved SE of Kirov to cut the Kaluga-Bryansk RR at Zhizda, but the objective was out of reach.
Finally, a railway repair battalion has started to convert the railroad to Bryansk.

Tuesday, July 10, 2018

Guderian’s Blitzkrieg II - AAR


Operation Typhoon
Turn 1 (Axis): 1st October 1941
Weather: Dry
Air Operations: Normal
Replacement  DR = 1 Eqp, 2 Pax
Supply DR = 12
Fuel Used
Ammo Used
Captured Supply

  Opening moves for Operation Typhoon.  South Sector
East of Shostka


Above shows major advances south of Bryansk.  Objective is to cutoff troops defending Bryansk and drive on the city.  Capturing Orel cuts off supply to Bryansk from the east.  Breakthrough was achieved by a series of barrages followed by overruns along the axis of advance.  3rd, 4th and 18th Pz Divisions defeated 2 Soviet tank units in detail to achieve results.  17th Pz fought through a defensive line of inferior Soviet infantry divisions.  Total losses for Soviets, 2 Infantry divisions, cav div and an HQ.  No German losses.  Dogfight over L'Gov resulted in substantial Mig-2 losses.


Saturday, March 22, 2014

Pz II Update

Maid some more progress recently.  I have finished the photo-etch and primed the model in standard German Grey;


The next step will be do add a coat of Future to protect the prime coat.  This is going to be a DAK theme so eventually I'll add the proper color over the grey, but in between  I'll add a layer of hairspray to facilitate chipping the final coat to show the grey underneath.

One note on the photo etch.  I am not sure all the effort was worth it for this kit.  Since I am just getting back into the hobby my main purpose of this build was to practice weathering, chipping dusting etc.  As my skills improve I'll look for doing more research, being more accurate and adding all the fun after market stuff.

Tuesday, March 11, 2014

1/35 PZ II

Also started a Panzer IIF recently.   I am going to paint it up using the following picture as a guide;


I bought after market tracks and some photo etched brass parts.  Tuns out 90% of the work will be the brass.  It is really turning into a project.

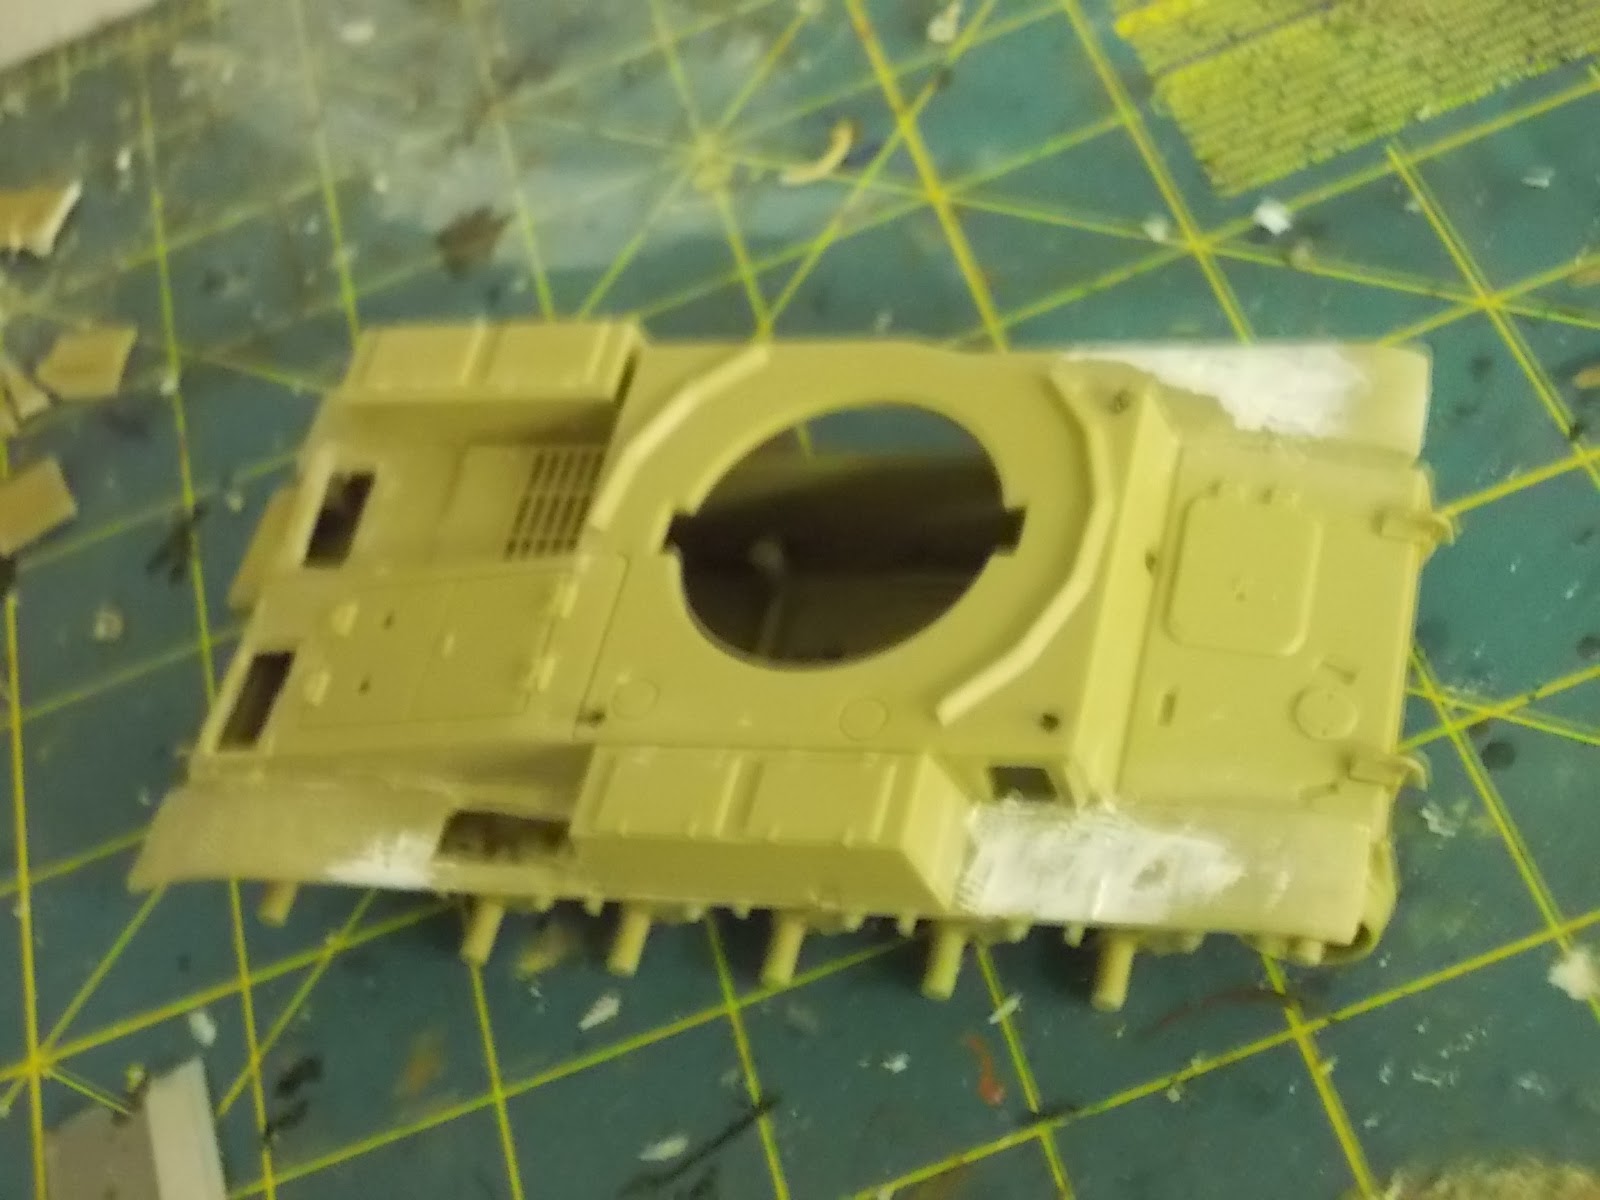
Below is my progress so far.  Below was some preparation for the brass.  i had to grind down the details on the fenders and remove the engine grills;


Next will be adding the brass!

Bolt Action Russians

Have been painting some 25mm WWII figures for Bolt Action;


I have about 50 of them and I think I have painted 30.  Also have some MG teams, mortar and a T-34/85. 

Marder IIIh

I have started a new hobby....building plastic models.  Normally i just paint my 15 or 25mm figures for wargames but I wanted a change in pace so i thought I would get back into plastic models.  My goals are to improve my painting techniques and get me otivated to branch out into more research opportunities.

Modeling has sure changed since I was a kid. Not only has the quality increased but nobody builds out of the box anymore.  There is an array for after market items to add details and parts that are not included in the kit.  My first attempt is from Dragon and it is a 1/35 scale Marder IIIh.  It came with an aluminum gun barrel (no mold lines to sand), photo etched brass parts, tracks made from individual links and probably 400 pieces to build from.  Back in the day this kit probably would have had 100 pieces max.

I am almost finished at this point.  Still have the painting and weathering to complete.  i am going to focus on chipping and adding pigments to simulate mud and dust.  Probablt take me a couple of months to complete.


Trying to fit the gunner in place.  Very crowded!


 Gun shield in place

 Finished painting the base coat

Next will probably be adding some details like spare tracks, and the main tracks themselves.

Saturday, October 19, 2013

Monty's Gamble; Playthrough Game 2, Turn 2

Monty's Gamble Game 2

Turn 2

Impulse 0
  • Germans activate Hussien and move a unit to Nijmegan
  • Allies activate Valkenswaard and take Eindhoven
Impulse 1
  • Germans activate Bimmel and move a unit to Elden
  • Allies activate Valkenswaard and take Woensel
Impulse 2
  • Germans activate Best and reinforce St Oedenrude with a single Battalion.  This move is simply to delay the rebuilding of the Son bridge.  The battalion is expendable.
  • Allies activate Woensel and successfully repair the Son bridge.  So much for the delaying tactic!
Impulse 3
  • Germans activate Zone G and reinforce Best
  • Allies activate Valkenswaard and eliminate Germans in St Oedenrude.
Impulse 4
  • Germans activate Helmond and move to block the road at Uden
  • Allies activate Eerde and attempt to repair the bridge. Bridge repaired; the engineers have their act together.
Impulse 5
  • Germans activate Ede and successfully assault Ginkelse Heide causing 3CP.
  • Allies activate Valkenswaard and attack Uden with single recon unit.  Stalemate result 
Impulse 6
  • Germans activate Pannerdern and bombard Arnhem with no result.
  • Allies activate Valkenswaard and attack Uden with single recon unit.  Stalemate result  
Impulse 7
  • Germans activate Pannerdern and cross the Rhine into Hussien and Bemmel.
  • Allies activate UK and bring on 1AB reinforcements to Ginkelse Heide.  Two battalions move to reinforce Wolfheize.
Impulse 8
  • Germans activate Zone B and move units to Pannedern and an Flak unit to Lichtenbeek. This move tightens the cordon around Arnhem. Because of the powerful defense in Arnhem the best move is to prevent the 1AB from getting to the south side of the Rhine.  A direct assault on Arhem is not likely to succeed.
  • Allies activate Eerde and attack into Uden and are unsuccessful.
  • Weather change!  The Germans have been waiting for this to attempt some infiltration.
Impulse 9
  • Germans
  • Allies activate UK and bring on 82 AB reinforcements to Groesbeek and 101st unit to St Oedenrude.
  • Weather change again...back to clear skies.


Thursday, October 17, 2013

Monty's Gamble Playthrough Game 2, Turn 1

Monty's Gamble Game 2

Since I made so many mistakes in the last game I am going to try this again. 

D-Day Opening
  • Very successful air bombardment, but Eindoven FT not flipped
  • Not vey successful XXX Corp artillery bombardment...only 4AP
  • Airlanding segment sees only one AB unit flipped. Overasselt bridges to Grave and Hatert siezed,  Grave FT destroyed and assault in St Oenrude against FT  fails.
  • Gds assault causes 4CP leaving 2 fresh Germans in Zone F
Impulse 0
  • Germans attempt bridge demolition from St Oedenrude and blow the Dommel River and Wilhelmina Canal bridges 
  • British take Arnhem and assault in Zone F.  As a change from Game 1 three units are moved to Arhem instead of 2. However, this means Dreil was not occupied.  
Impulse 1
  • Germans activate Osterhout and move 9SS recon to Driel to block 1AB from crossing the Rhine.  This is a change in tactics from game one.  Allies can't assault Nijmegan this turn so the recon unit is not needed there.
  • 1 AB successfully assaults Wolfheize and fails to eliminate the last German in Zone F.

Impulse 2
  • Germans activate Cleve and reinforce Wyler with 2 battalions.
  • Allies use air bombardment on Valkenswaard to weaken defender.  Successfully disrupt both units.
Impulse 2
  • Germans activate Veghal and blow the canal bridge.
  • Allies activate Mook and occupy Groesbeek Heights and Beek.  Use free impulse in Zone F for an assault resulting in a single CP.  Germans still holding. 
Impulse 3
  • Germans activate Veghal and blow the canal bridge.
  • Allies activate St Oedenrude and fail to eliminate the FT.  Free activation in Zone F sees destruction of the defenders in Zone F and Valkenswaard, but the Eindhoven bridge remains in German possession and XX Corp is done.  However, Allies did gain a sunrise modifier for eliminating 3 German units.

Impulse 4
  • Germans activate Eindhoven, but fail to blow the bridge.
  • Allies activate Overasselt and eliminate the FT in Hatert.
Impulse 5
  • Germans activate Zone B and move 2 units to Pannerdern.
  • Allies activate St Oedenrude and fail to eliminate the FT.

Impulse 6
  • Germans activate Eindhoven, but fail to blow the bridge.
  • Allies activate St Oedenrude and fail to eliminate the FT.  Turn ends..... 
The Allies fail to contest or capture Eindhoven for an extra VP, but the position in Arnhem seems pretty good.


Sunday, October 13, 2013

Monty's Gamble: Game 1, Turn 4

Monty's Gamble, Turn 4

Weather Clear

Impulse A
  • Germansactivate Lichtenbeek and assault Arnhem causing 4CP.  this only leaves 1CP remaining.
  • Allies activate a bombardment and send the planes to Velp.  This is the area from which the Germans will attack Arnhem next.  In fact with an excellent result the Germans will only have 2 strength mechanized infantry left to assault with.  Bombardment inflicts 3 CP and "spends" the 6 strength armor.
Impulse A
  • Germans activate Velp and assault Arnhem with an attack strength of 6 vs a defense of  5 and lose badly.  Frost holds on for another impulse.
  • Allies activate UK and bring in the Poles to Driel.  One of three battalions is interdicted by Flak.
Impulse 0
  • Germans activate Arnhem and assault with single mech. infantry with artillery support (3 vs 5).  Another miserable result for Germans (rolled a 2)
  • Allies activate Hatert and bombard Oosterhout with XXX artillery (Strength 14 vs def 8) causing 6 AP.  Germans cannot reinforce Nijmegan now.
It is at this point that I realize that I forgot the isolation rule starts on the 20th for airborne units, so the spent and Disrupt 1 1AB units in Arnhem should have rolled at the end of last turn.  Since it will make the difference between victory and defeat for the Germans I will roll now.  One failure will eliminate the last step of airborne holding Arnhem.  Survey says.....failure by the Disrupt 1 unit, so Germans have captured Arnhem!

Impulse 1
  • With the fall of Arnhem, the Germans pass and will wait to react to Allies impulses if necessary.
  • Allies activate an air bombardment on Nijmegan and succeed in getting 2 AP flipping the German mechanized infantry.
Impulse 1
  • The Germans pass and will wait to react to Allies impulses if necessary.
  • Allies activate Nijmegan and attack with 2 Guards unit with artillery support.  Attack strength of 11 vs defense of 8.  3 CP result.
Impulse 2
  • The Germans pass and will wait to react to Allies impulses if necessary.
  • Allies activate Nijmegan and attack with 2 Guards unit with artillery support.  Attack strength of 11 vs defense of 7.  Dismal failure....
Impulse 3
  • The Germans activate Huissen and bombard Driel with II SS corp artillery (A8:D4).  6AP will flip 3 units.
  • Allies activate Groesbeek Heights and attack with 1 82nd AB with artillery support.  Attack strength of 7 vs defense of 4.  6CP result; eliminating resistance.  Use final MP to seize bridge; seizure is successful.
Impulse 4
  • The Germans activate Reichswald and assault Groesbeek (A8:D8) and fail.
  • Allies activate  St Oedenrude and assault Best (A11:D3). 8CP result capturing Best.  German mistake not to defend better as this will giive the Allies 10VP.
Impulse 5
  • The Germans place air interdiction in Driel.
  • Allies activate Hatert and assault Oesterhout(A9:D6). 7CP result capturing Best.  Germans retreat a 6 units to Elst, but hold the area with a few remaining units.
Impulse 6
  • The Germans activate Gemert and assault to Veghel (A9:D9).  Successful but 0CP.
  • Allies activate UK and drop 101 AB artillery into Erde and the turn ends.
This is the end of the game with an Allied victory (10 VP).  I may play out the extended game but it looks like, with the Driel bridge in Allied possession, the Allies can probably link up with 1 AB without a problem.  However with Veghel contested by the Germans XXX Corp supply to Nijmegen will be held up.

End of Turn 4 views;


Wednesday, October 9, 2013

Monty's Gamble: Game 1, Turn 3

Monty's Gamble, Turn 3

Weather Overcast

Impulse B
  • Germans infiltrate from Lichtenbeek  to Oosterbeek with 10SS Flak.  Thus cutting off Arhem from reinforcements again
  • British successfully assault Nijmegen causing 6CP.  Germans absorb casualties and retreat one spent unit to Oosterhout.  Still have a fresh FT, spent SS recon and 3 Disrupt 1 infantry battalions in Nijmegan
Impulse A
  • Germans bombard Arnhem with SS Corp artillery and flip one unit.
  • British successfully assault Nijmegen causing 4CP.  Germans absorb casualties and by increasing disruption levels on existing units.  No retreats..  Germans still have 9 CP worth of units in Nijmegan
Impulse 0
  • Germans assault Arnhem with 3 SS division units causing 2CP.  Fresh 1AB unit becomes spent and spent unit becomes disrupt 1.
  • British unsuccessfully assault Nijmegen  Allies will wait for the weather to clear before making another assault.
The Germans feel that Nijmegan is lost and the only path to victory is to press on against Arhem.  Germans threaten the road to Nijmegan but the assaults are all at least -1.  XXX Corp concentrating on Nijmegan.  If the road gets cut there are reserve units that can counter attack.

Impulse 1
  • Germans activate Arnhem and move one unit to Wolfheze and Oosterbeek.  This will reinforce the cordon around Arhem.  Germans will go in for the kill tomorrow.
  • Americans unsuccessfully assault Best (looking for a VP).  Arhem sector is best to defend as it will save supply.  Nijmegan needs some bombardment prior to the next assault.  Realistically the Germans cannot supply Nijmegan so the situation will not get any worse.
Impulse 2
  • Germans bombard Veghel with no effect.
  • British  activate Wolfheze and successfully assault into Oosterbeek causing only 1 CP.  1AB is trying to open the way to Arhem.
Impulse 3
  • Germans activate zone B and advance Flak to Pannerdern and artillery to Lichtenberg. 
  • British  activate Zeeland and advance XXX Corp and Guards artillery to Hatert.
Impulse 4
  • Germans activate Ede and advance a battalion to Renkum.  Allies left it undefended because it was though to be unneeded area.  however it is an area eligible for air supply counter so we will see at the end of the turn if it was wise to let it go.
  • Pass. holding units in reserve in case of German assault against the road areas.
Impulse 5
  • Germans activate Zone A and move flak and armor to Lictenbeek
  • Activare Hatert and assault Nijmegan with a single tank battalion.  Assault fails and turn ends.
End of turn thoughts....  Allies have 8 VP and will have two more if Arhem holds out.  Will also gain enough VP if Nijmegan is captured, so we are headed for a final showdown in Nijmegan.  Allies will lose a VP for Germans contesting 6VP worth of areas, so i think Nijmegan is the key.

End of turn snapshots from Arnhem and Nijmegan;


Monday, October 7, 2013

Monty's Gamble: Game 1, Turn 2

Monty's Gamble, Turn 2

Impulse 0
  • Germans place interdiction in Ginkel Heide
  • British repair the Son bridge.

Impulse 1
  • Germans activate Cleve and move two units to Nimegen
  • British activate UK and bring in 1AB reinforcements loosing one to interdiction
Impulse 2
  • Germans activate Panerden and bombard Arhem "spending" one 1AB battalion
  • Allies assault Best causing 1 CP.  Spend German infantry battalion
Impulse 3
  • Germans activate Panerden and move units to Huissen and Bemmel using the ferries
  • Allies activate Woensel. Move XXX Corp recon battalion to Overasselt linking XXX to 82nd airborne areas.
  • Free activation of Zone F.  Use highway movement to move units to Overasselt.  Gain XXX Corp reinforcements for crossing ihe Maas.
Impulse 4
  • Germans activate Reichswald and move all units to Nijmegan.
  • Allies activate K and bring in 101st reinforcements to St Oedenrode.  unit move to Woensel.
  • Free activation of Zone F - move infantry to Eindoven and EErde.
Impulse 5
  • Germans activate Lichtenbeek and attempt infiltration into Oosterbeek.  Armor succeeds infantry fails and is thrown back Disrupt 1.
  • Allies activate Overasselt and attempts bridge repair and succeed.  82nd battalion assaults across the canal and defeats the FT taking Hatert.
  • Free activation of Zone F.  Use highway movement to move units to Hatert.
Impulse 6
  • Germans activate Zone B and move to Arnhem.
  • Allies activate Groesbeck and assault Wyler with to 82AB battalions eliminating the Flak tower.
  • Free activation of Zone F.  Move 43rd division artillery to Veghel.
Impulse 7
  • Germans activate Arnhem and move mech. infantry to Pannerden.
  • Allies activate Renkum and assault Oesterbeek.
Impulse 8
  • Germans activate Zone A and move to Arnhem
  • Allies activate Ginkel Heidi and assault Wolfheinze.
So far Allies have been very successful in their assaults.  I think I have been too passive with the Germans.  I have avoided any assaults that are not at least even up.

Impulse 9
  • Germans activate Ede and assault Ginklese heise causing 1 CP
  • Allies activate UK and bring in 82nd AB artillery to Groesbeek.
  • Weather change!
Impulse 10
  • Germans activate Delen and infiltrate FLAK into Wolfheinze
  • Allies activate Vaalkenswaard and move artillery up the road to Uden. Turn Ends


Saturday, September 28, 2013

Monty's Gamble; Review/Playthrough


I am normally not a fan of area move games, but I was intrigued by this game from the start.  Lets see how a solo replay goes;

Day 1
Turn 1 - 
 Impulse 0

  • German attempts to blow St Oedenrode bridges and fail.
  • British activate Renkum, move one battalion into Oosterbeck and seize bridge to Driel, move two battalions into Arnhem and successfully seize the bridge.
  • Assault forces Germans out of Zone F.

Impulse 1

  • German attempts to blow St Oedenrode bridges and fail.
  • British activate Ginkelse Heide and assault Wolheze with two battalions and artillery support.  Assault fails miserably even with a +4 advantage.
  • Assault forces Germans out of Zone F into Valkenswaard.  Combat results not enough for an overrun.  Two units eliminated; three units retreat to Geldrop D2.

Impulse 2
  • German attempt to blow Eindhoven bridges succeed in blowing the bridge to Valkenswaard.
  • British activate Ginkelse Heide and assault Wolheze with two battalions and artillery support.  Assault fails miserably even with a +4 advantage.
  • British Guards assault from Zone F into Valkenswaard.  Combat results not enough for an overrun.  Two units eliminated; three units retreat to Tongelre D2.
Impulse 3
  • German attempt to blow St Oedenrode bridges succeed in blowing the bridge to Woensel.
  • 82nd activates Mook and assaults Malden with a single regiment and is repulsed by the spent FT.  Move a single regiment to Groesbeck Heights.
Impulse 4 
  •  German attempt to blow Overasselt bridges succeed in blowing the bridge to H.atert
  • British activate Vaalkensward and attempt bridge repair; failing but gaining +1 for next attempt.
Impulse 5
  •  German blow Overasselt - Malden bridge
  • British activate Ginkelse Heide and assault Wolheze with two battalions and artillery support.  Assault succeeds by 1.  GP regiment moves to Driel to secure a supply zone.
Impulse 6
  •  German pass
  • British activate Vaalkensward and attempt bridge repair;failing again
.Impulse 7
  •  German pass
  • British activate Vaalkensward and attempt bridge repair; finally passing.
  • Weather change!  This could be bad.
.Impulse 8
  •  German activate Zutphen and attempt infiltration into Arnhem.  Succeeding with 9SS armored infantry.
  • 101st assault from St Oedenrode to Best. Result in a tie contesting the region and ending the turn.
  • Free activation of Zone F will have guards recon assult Eindoven. Overwhelming success including over run and continue on to Woensoel.
 Key Events
  • Germans blew 5 bridges and got units into Arnhem
  • Allies seized Eindhoven, but Son bridge is blown so XXX advance will be limited. 1AB seized Driel across the Rhine.
Map at the end of turn 1;


Tuesday, April 9, 2013

Well its time to resurrect this blog.  I just finished two rifle sections for FOW Vietnam and will post pictures shortly.

Wednesday, November 23, 2011

WWII Russians

While gaming the other day a friend of mine asked me if I had WWII Russians.  I knew i had enough to run an understrength Strekovy, but since I hadn't played with them in a while I pulled them out for inventory;


And a perspective view;


Basically it's a full strelk battalion with flamthrower and sapper support.  Of course this is only the infantry.  I have supporting tanks, artillery and AT guns.

Back at the painting table

Been recouperating from back surgery, so I have been away from the painting table.  Still have too many projects to complete;
  • 25mm Early Romans
  • FoW need to start my EWBritish and fill out my Russians
  • FoW Vietnam
  • Host of others
Below are a couple of Pz IVs i finished off the other day;


Saturday, July 23, 2011

Update on FOW Vietnam.  I have purchased 2 Huey slicks, 2 Huey Hogs, Col Moore and 4 M113s.  The helicopters are done;


The figures are sweet and easy to assemble except the rotors.  Crisp details, not too much clean up and a full range of decals provided.  However I do have issues with the main rotor assembly;

The good;
  • Magnets provided so rotors are removeable
  • Crisp detail
  • Rotors are plastic so they bend and snap back.
The not so good;
  • Shaft is very thin and will break if not handled with care during assembly
  • Out of four helicopters I broke two
Huey Hogs were similar;

FoW Vietnam


So, the newest thing from Battlefront is the Vietnam era.  I am not sure how the game will playout, but I thought the miniatures were cool so I decided to dive in.  Browsing through the army lists I decided to paint an American air mobile list.  Motivation for this list is two fold;
  • Helicopters are cool
  • I can use my American WWII infantry miniatures to test the system.  If I like it I can buy the Vietnam infantry.

My list will look something like this;
  • HQ + Col. Moore 80pts
  • Full Rifle Platoon - 180pts
  • Full Rifle Platoon - 180pts
  • Full Rifle Platoon - 180pts
  • Mortar Platoon - 125pts
  • Aviation Platoon - 4 UH-1D - 150pts
  • Aeroweapons platoon - 2UH-1B Hogs - 200pts
  • Rifle Platoon Mech - 290
Total 1385 points.  I can round out the list later.  So all I have to buy are 6 helicopters, Col Moore and the M113 for the mechanized infantry.

It will be interesting to see how long this takes me.

Sunday, May 8, 2011

Test Post WWII Winter Camo

    Camo created using multiple coats 50/50 white paint/water mix with a brown wash between each coat.


After the white I dry brushed with the duklegrab to show places where the whitewash would have worn away during normal use.